

No visit to Lebanon, for me or for anyone elese for that matter, is complete without at least one manqousheh (or manousheh as they say it; most Lebanese people drop the q when they speak), the quintessential Lebanese breakfast. Most people will only eat manaqish (plural of manqousheh) made with their own za’tar and olive oil which they mix at home before taking it to their local baker for him to use with his dough (which by the way is the same as that for pita bread unless you are in the south but this is for another post) to make the manaqish, which are basically pizzas. The most common topping is za’tar but you can also have them topped with cheese or with cheese and za’tar or with kishk (a mixture of burghul and yoghurt that is first fermented then dried then ground very fine). The kishk is normally mixed with diced tomatoes, walnuts, sesame seeds and olive oil. These are the classic toppings but as with pizza you can use any topping you want.
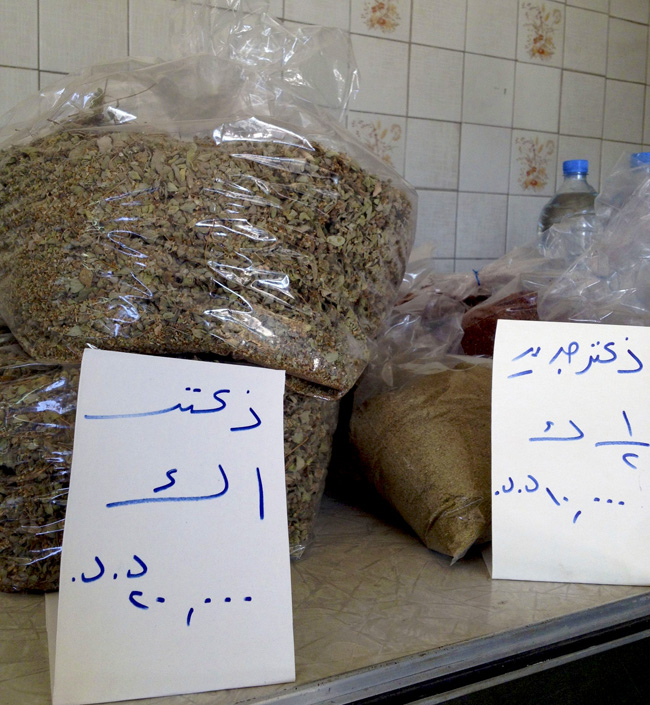
As some of you know from my previous and other posts, my mother’s local baker is Emile and when I went to visit my mother last week, I went to see him to say that I wanted to take more photographs of him making manaqish and fatayer. His bakery is very simple and he doesn’t normally have much for sale there apart from drinks and a few items that he makes himself such as qawarma but on that day his side counter was stacked with freshly dried za’tar and sumac and new season sesame seeds — late summer and early autumn is mouneh season; mouneh means the preserves made with seasonal produce. I had not seen so much dried za’tar (za’tar is also the Arabic word for thyme) for a very long time. I also hadn’t seen my mother make za’tar for a very long time. So, I bought a huge bag of dried za’tar and a bag each of sumac and sesame seeds for her to make me some to take back to London.
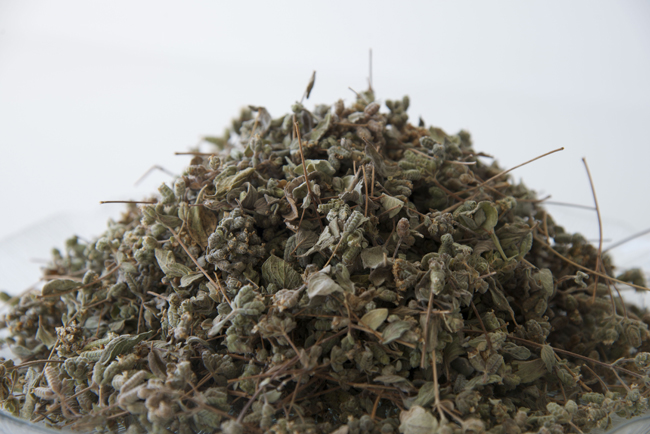
My mother was not happy. Even though the leaves and buds had been taken off the main stalks, there were still a lot of stalks that needed to be picked out — the commercial za’tar will have a lot of these ground with the leaves and buds to bulk the za’tar out; sometimes they introduce worse stuff like wood chips — and she knew she would have to do it at least for as long as I needed to photograph her. To be honest I didn’t help at all but my mother didn’t mind in the end because we ended up with one of the best za’tars she’d ever made. Anyhow, she got to work and cleaned the whole lot of all the stalks and ground the dried za’tar in her food processor which didn’t grind them as fine as if we had taken the za’tar to a mat’haneh (the place where they grind seeds and spices) but it turned out to be a good thing. The final mix had great texture.
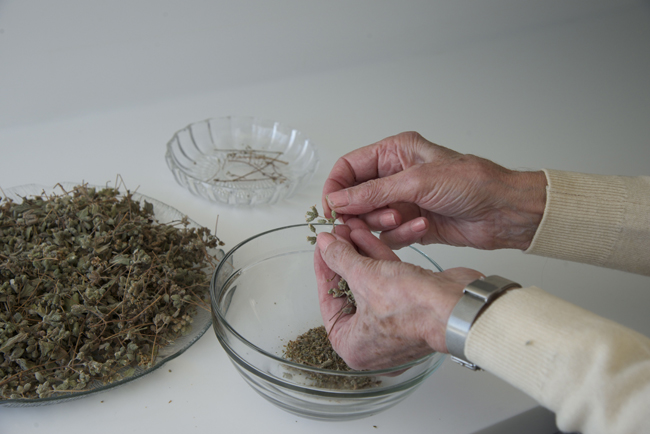
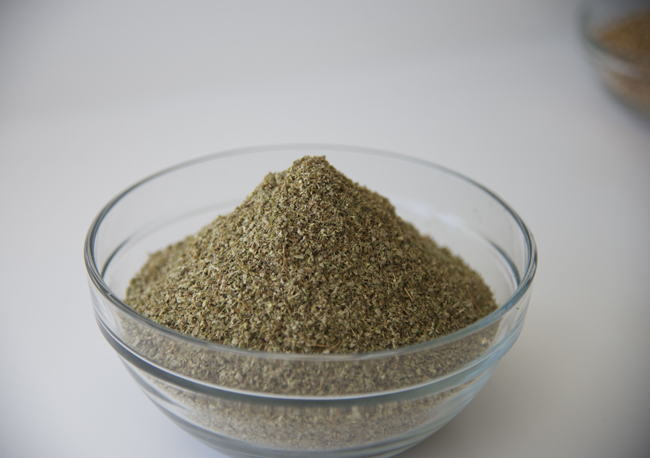
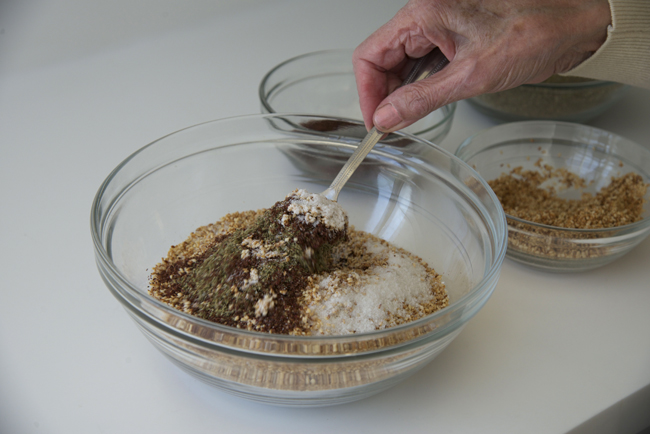
Once she had ground the za’tar, she set about preparing the mix. She put some ground za’tar in a bowl.
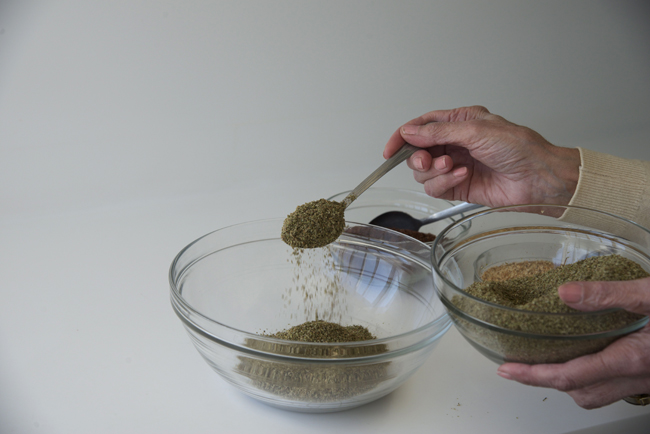
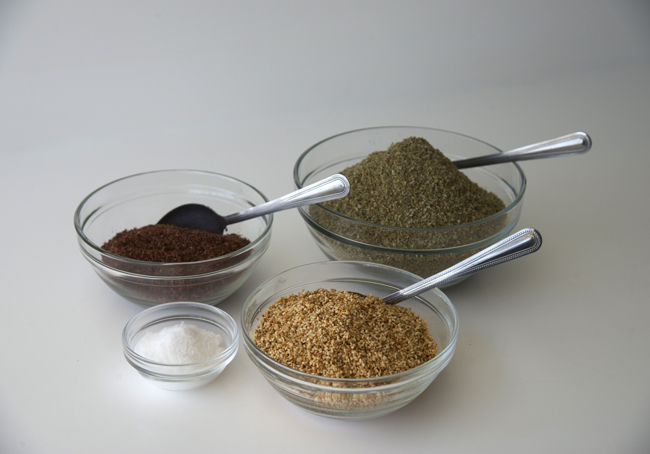
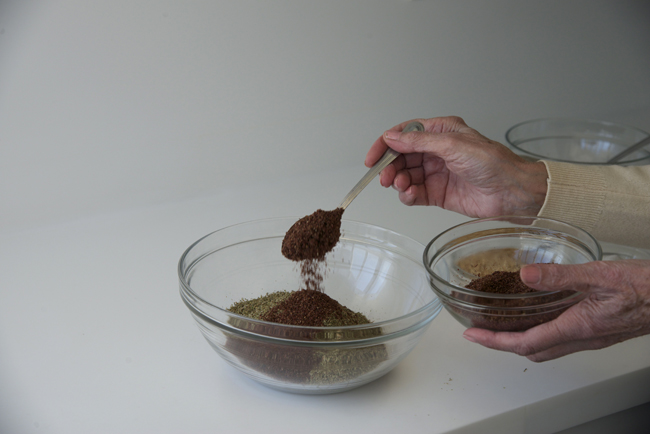
She added sumac — she didn’t measure but her proportions are two parts ground thyme to one part ground sumac to 1/2 part toasted sesame seeds with salt to taste.
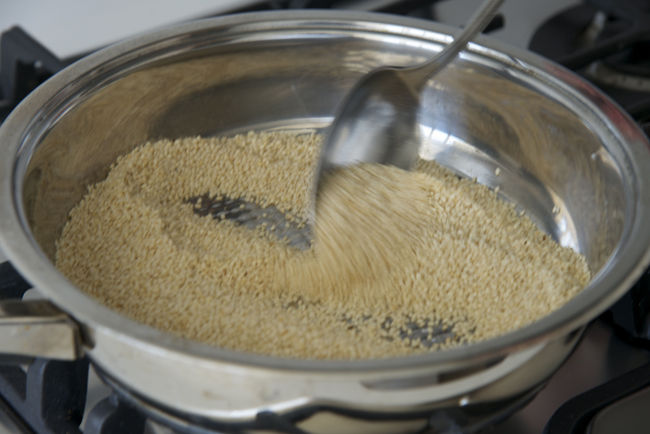
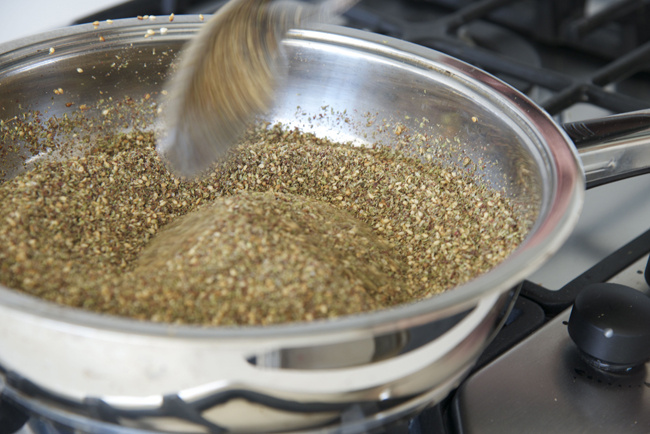
She had to toast the sesame seeds before adding them. Some people use them untoasted but you don’t get the nice nutty flavour without toasting. You can however simplify your life and buy the seeds ready toasted. But if you decide to toast them, make sure you stir them all the time like my mother did and watch them carefully at the end. They will burn in no time!
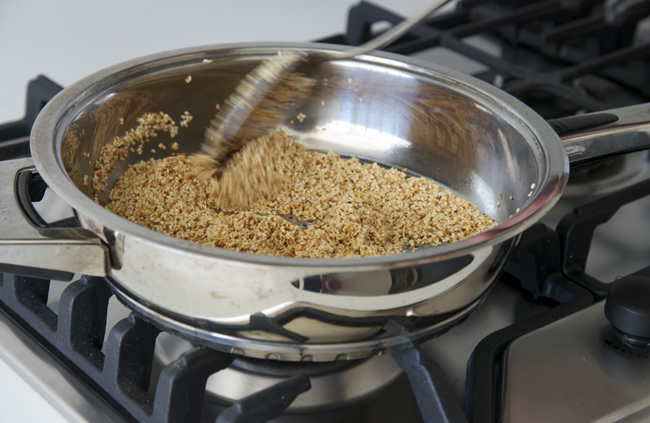
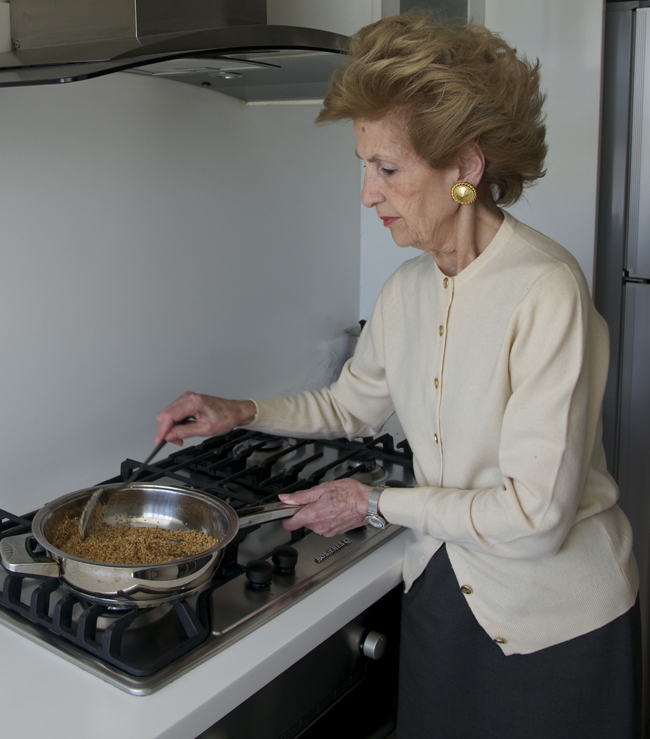
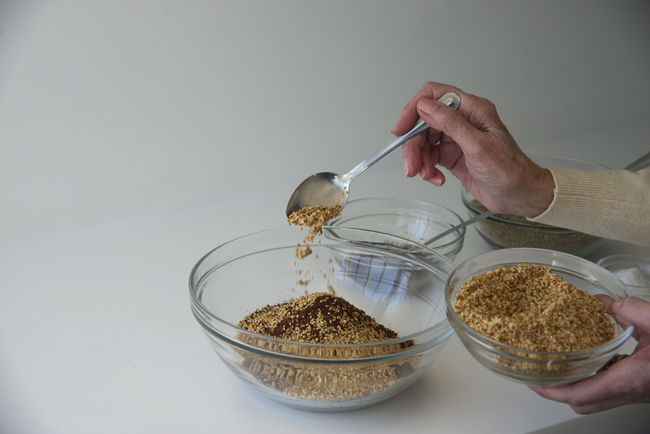
She added the toasted sesame seeds to the bowl.
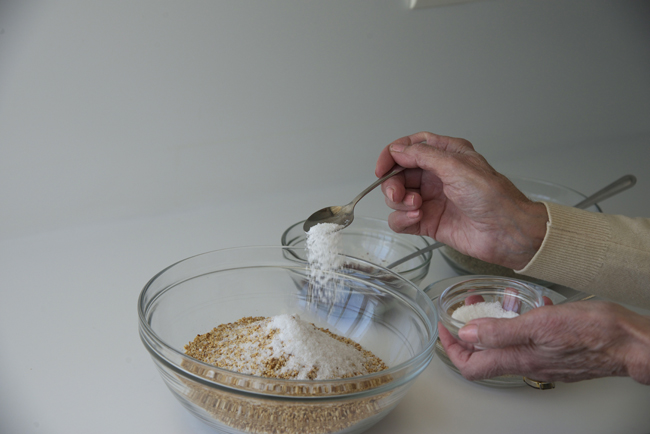
She then added a little salt and mixed the lot well together.
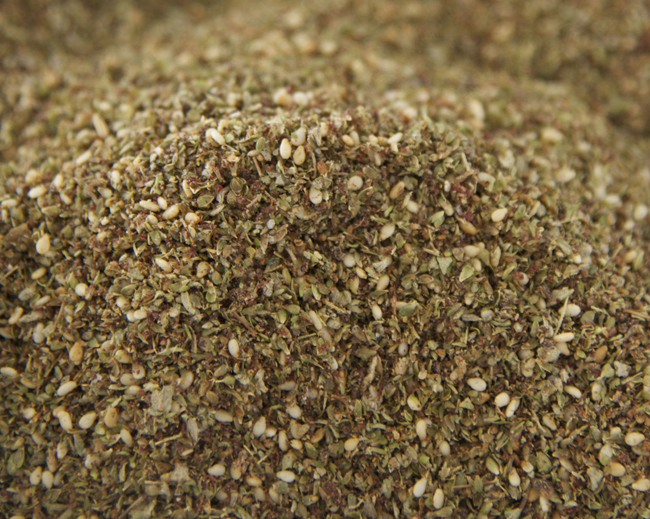
As you can see the za’tar has a little texture which I really liked and we both decided that it was nicer a little coarser. As a result, my mother will be grinding her own za’tar from now on,.
There was one more step before taking the za’tar to Emile and that was to lightly toast the mixture so that it lasts longer. In fact, you can keep za’tar for years as long as it is properly prepared and kept in a hermetically sealed container somewhere that is not too hot nor too light.
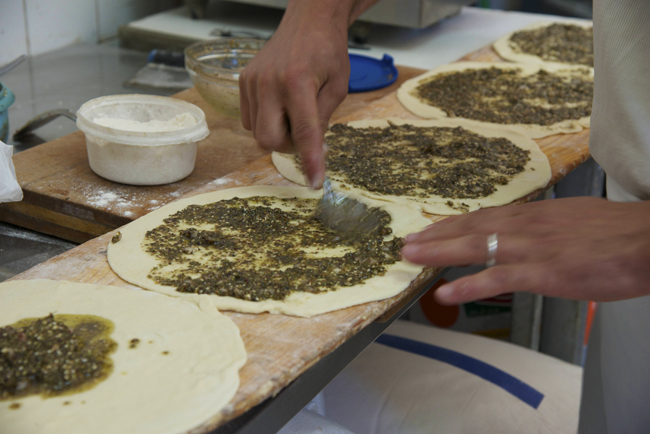
And here is Emile’s helper spreading the za’tar and olive oil mixture over their brilliant dough. Both my mother and I like to add a little finely chopped onion to the za’tar mix. It kind of sweetens it a little and adds a little softness.
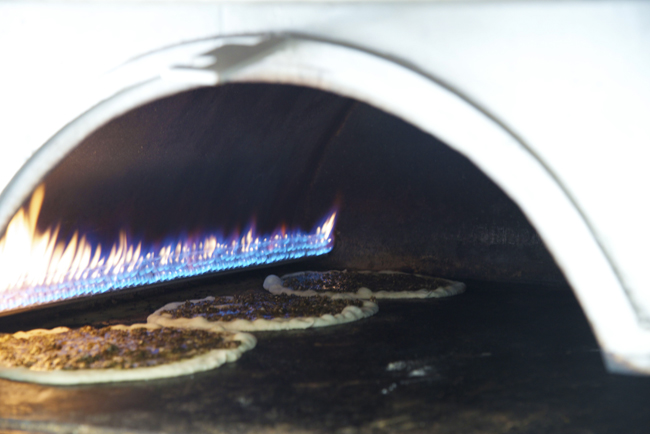
And here are the manaqish baking in the oven and below, you will find a recipe for how to make them which I first published in Mediterranean Street Food
Thyme ‘Pizza’
Manaqish bil-Za’tar
There are two types of manaqish bil-za’tar: those baked in the oven and those cooked on the saj (a kind of inverted wok placed over charcoal or in the modern places, a gas fire), the latter being thinner and slightly more crisp. The following recipe is the saj version cooked in a non-stick pan. If you want to bake the manaqish, roll them out a little thicker and bake in a very hot oven. Serves 4
To make the bread dough:
265 g/1 3/4 cups unbleached all-purpose flour, and more for kneading
1/2 teaspoon easy blend yeast
1 teaspoon fine sea salt
2 tablespoons vegetable oil
For the topping:
3 tablespoons za’tar (thyme mixture)
just under 1/2 cup extra virgin olive oil
1 small onion, finely chopped (optional)
Mix the flour, yeast and salt in a large mixing bowl. Make a well in the centre and pour in the oil. Work it in with your fingertips until completely absorbed. Gradually add 1/2 cup plus 1 or 2 tablespoons warm water (some flours need more hydration than others) and knead until the dough is smooth and elastic. Form into a ball, cover with a wet although not dripping kitchen towel and leave in a warm place for one hour or until doubled in size.
Divide the dough into four equal portions and roll each into a ball. Dip the first piece of dough in flour on both sides, shake off the excess and roll into a thin circle, about 2 1/2 mm/1/10-inch thick. Make a few dimples across the flat dough, pressing hard with the tips of your fingers — this is done to stop the oil from running out during cooking.
Mix the thyme mixture, olive oil and onion if you are using it in a bowl and spread a quarter of the mixture over the circle of dough. Let rest for 5 minutes.
Place a nonstick skillet over medium heat and wait until it is very hot. Cook the za’tar topped dough in the skillet for 3-5 minutes or until the bottom is crisp and lightly golden. You can if you want slide the manousheh under a very hot grill to crisp up the top. Make the rest of the breads and serve hot or tepid, either plain or with a bowl of labneh (strained yogurt) and another of olives. together with fresh mint, tomatoes and cucumbers.

